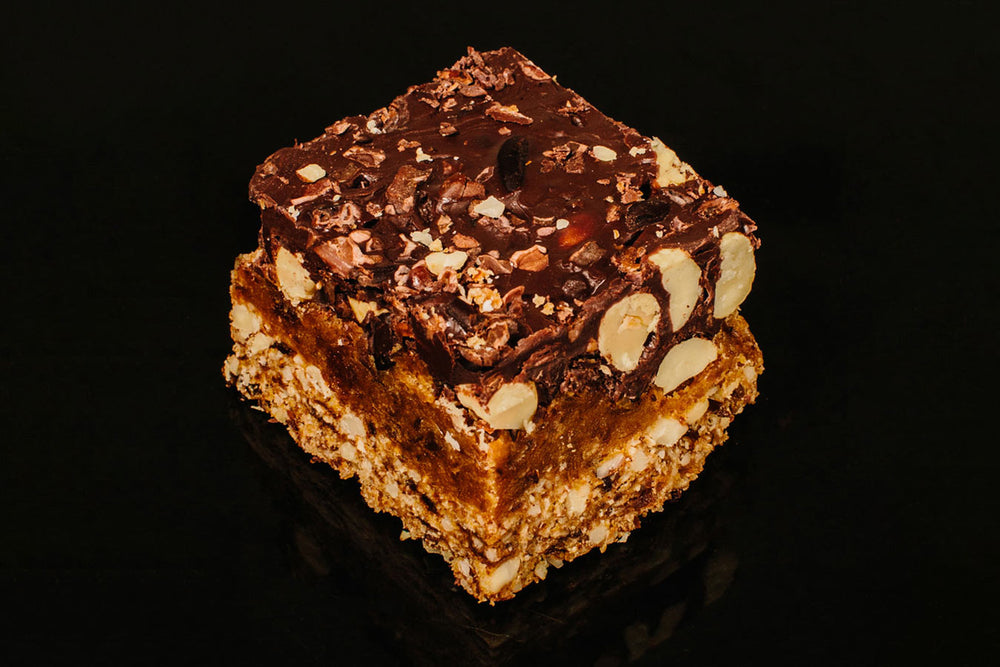

Our homemade (and healthier) rendition of the candy classic, made with our single origin Maple Dark Baking Chocolate and packed with almonds, peanut butter, oats, and dates, and layered with a dark chocolate shell. By making these at home, each bar ends up with a far lower sugar content and are far more filling than the real thing. We think they make a great chocolate breakfast that’ll keep you satiated for hours.
Ingredients
Base Layer
3/4 cup rolled oats
3/4 cup toasted almonds
1/2 cup raisins
5 pitted medjool dates
Salted Caramel Layer
1 cup pitted medjool dates
1 tbsp peanut butter
1 tbsp hot water
½ tsp vanilla
A pinch of salt (to your taste)
Crunchies
½ cup peanuts
1 tbsp peanut butter
¼ cup cacao nibs
Chocolate Shell
¾ cup of Maple Dark Baking Chocolate
2 tsp coconut oil
A couple sprinkles of cacao nibs
Steps:
1. In a food processor, blend oats until they create an oat flour and place in a bowl. Add almonds to the blender and blitz until fine with some small chunks, add to the bowl. Add raisins and dates to the food processor and blend until a chunky paste starts to form, add to bowl.
2. With your hands, knead together the fruit paste with the oats and almonds, this will take a few minutes before it all comes together in a slightly sticky dough ball.
3. Press into a loaf pan that has parchment paper/very lightly greased with coconut oil. Place into the fridge to chill as you continue the recipe.
4. In the food processor, add all ingredients for the Salted Caramel Layer and blend until a caramel-like paste forms. This will take a few minutes and require some stopping and scraping with a spoon. If it's too tough, you can add a little bit more warm water until its workable.
5. Once the caramel is good to go, take a loaf pan out of the fridge and spread the caramel layer over top the base layer.
6. Sprinkle peanuts and cacao nibs over the caramel and gently press the bits down so they are stuck into the caramel. Place in the fridge.
7. Melt the chocolate in the microwave, but only slightly - we don’t want to burn it! Start with 30 seconds, and then remove and stir for 30 more seconds. If there are still unmelted chunks, return to the microwave for 10-20 seconds, and stir again. Add in coconut oil and let come to room temperature.
8. Pour the chocolate shell over the top layer in the loaf pan, spreading it evenly, and then sprinkle cacao nibs as desired for decoration and added crunch.
9. Return to the fridge and let chill for several hours/overnight before cutting into it. Cut to desired size and keep stored in the fridge. Enjoy!