


Candy Cane Hot Chocolate Cookies (V & GF)

We've got hot chocolate and we've got cookies on our minds all December long, so we thought why not combine the two! With our Candy Cane Hot Chocolate as the star ingredient in this cookie, we've adapted one of our favorite vegan, gluten-free cookie recipes by Eric Kim for our hot chocolate cookie. It may not be a hot mug of cocoa, but the nostalgic charm and familiar, festive flavors of this cookie will warm your soul. With an addictively chewy texture and vibrant peppermint flavor, you won't be able to resist eating only one. These are quite possibly the most festive cookies you'll have all holiday season. Grab yourself a bag of our Candy Cane Hot Chocolate and get baking!
Ingredients:
4 tablespoons aquafaba
1 1/2 cups almond flour
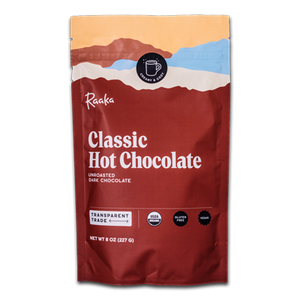
1/2 cup Raaka Candy Cane Hot Chocolate
3/4 cup sugar
1 teaspoon vanilla
1/2 teaspoon salt
White Icing
1/2 cup powdered sugar
1-3 tablespoons water
1/8 teaspoon peppermint extract
Red Icing
1/2 cup powdered sugar
1-3 tablespoons water
1/8 teaspoon peppermint extract
red food coloring
Steps:
- Preheat oven to 350º.
- With a mixer, beat aquafaba in medium bowl until foamy. Add all other ingredients and beat until a paste-like dough forms.
- Dampen hands and form dough into ~2 tbsp-sized balls. Evenly spread out on lined baking sheet, press down until ¾ in thick.
- Bake for 18-20 mins, then gently press down cookies with back of a spatula or bottom of a round cup, ~¼ inch thick. Place back in oven for another 2-4 minutes, until center is no longer very "gooey" to the touch.
- Remove, let cool on tray for 5-10 minutes then transfer to cooling rack.
- Make icings in two bowls by whisking together ingredients. Add your water 1/2 tablespoon at a time until icing forms your ideal thick drizzle. For red icing, add red coloring a little at a time until you achieve your ideal red color.
- Place icings in ziplock or piping bags, pushing to one corner. Snip the bottom corner to create a small hole for piping.
- Pipe white icing on cookie first, in a circle along cookie edge and then filling center. Use an offset spatula to smooth white icing overtop cookie.
- With red icing, create line pattern across white icing. Lightly drag toothpick through icing to create a marbled effect. Get creative! Icing will set fast, so ice cookies one at a time.
- Let set until dry to the touch.
- Enjoy and be merry!